Progress Report: Owl By Janlynn, Start to Finish
Progress Report: Owl By Janlynn
Today’s Progress Report is a very popular Owl By Janlynn motif Janlynn puts out a lot. This little owl has several different kits based on variants of its design, including pillowcases, a 5×7 size kit, and a mini kit, just to name a few! The mini kit version is what our Progress Report today is about.
I picked up this mini kit to make for my sister, who is a big fan of owls. Because it was a nice quick stitch, I made it up as a Christmas present for her. I tried to stitch presents for everyone that year, so I don’t think it took me long at all. Maybe two weeks max of an hour or two of stitching at a time!
I started out with the main body:
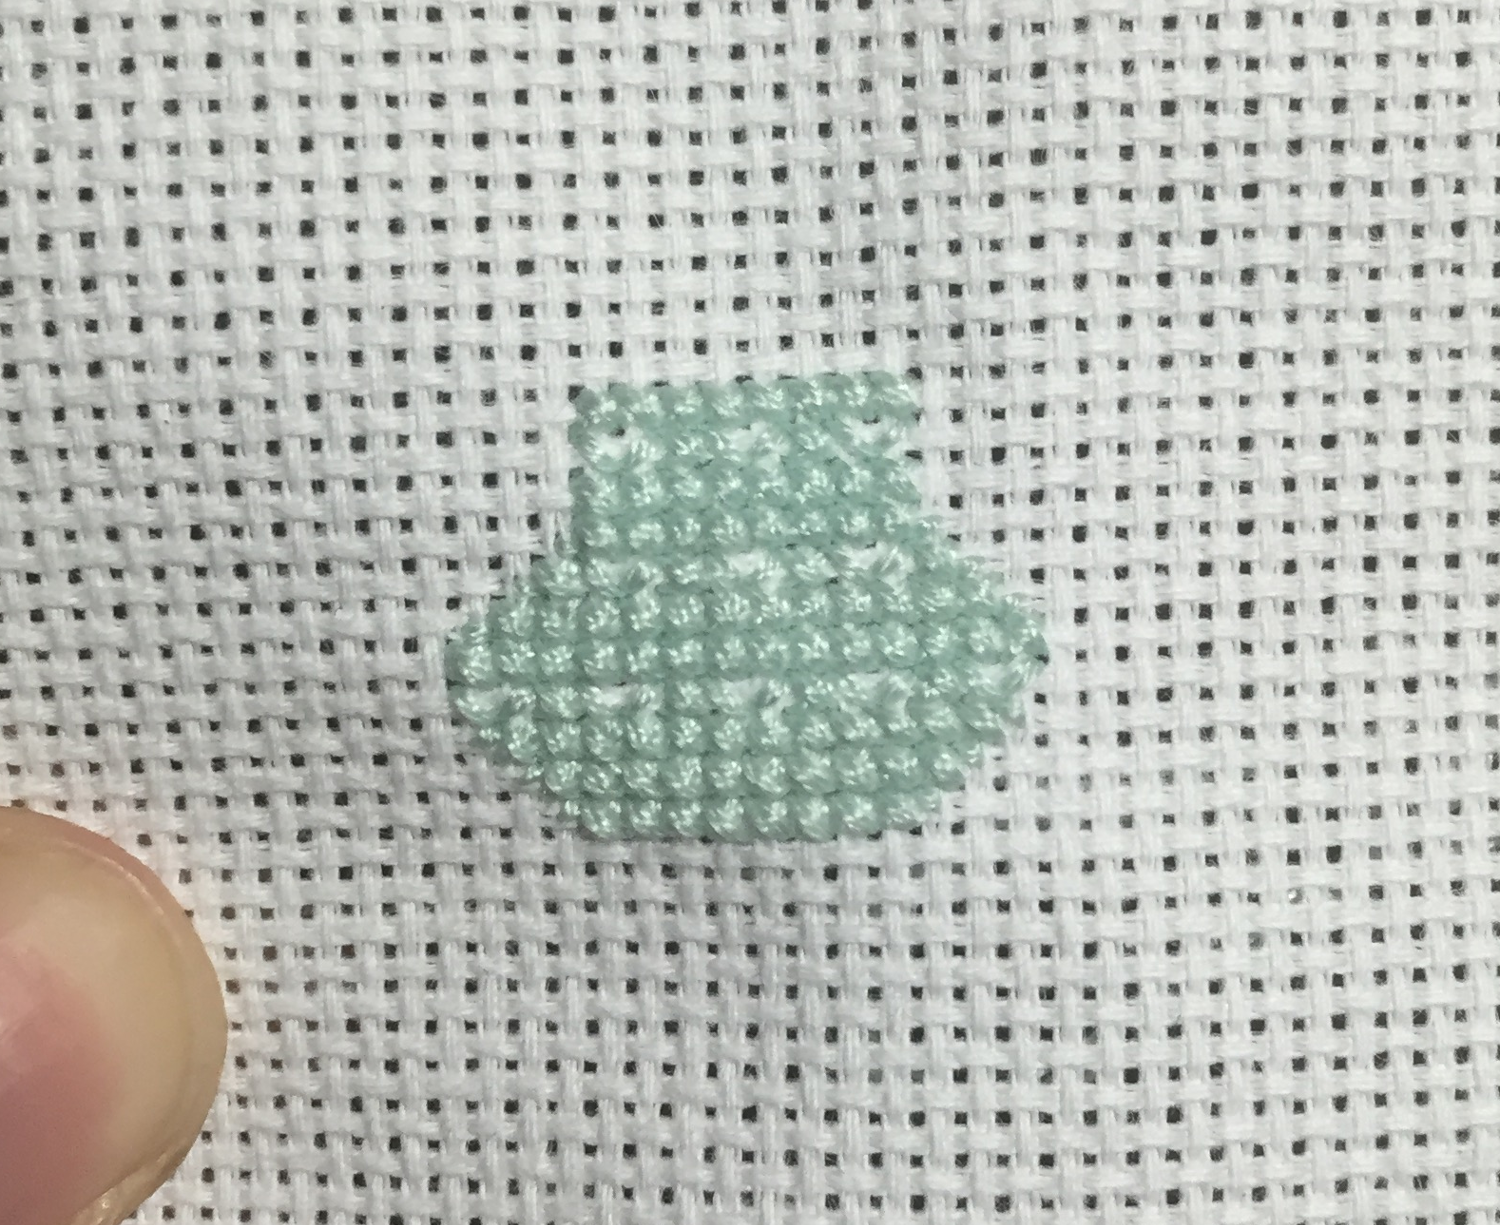
Main boy of the owl!
The hardest part of the body was the quarter stitches. Quarter stitches on Aida fabric can be an annoying pain. The end result after the back stitch is on always makes the piece look great, but the frustration of “punching through” the threads of the fabric is something all stitchers who use Aida fabric have to deal with!
Next I finished out the main body and outlined the eyes:

Does it look like an owl yet?
I think if you tilt your head and squint it looks a little like an owl at this point. It has the eyes, part of the beak, and the feet. All the owl is missing at this point is the head and the wings. I did the wings next:
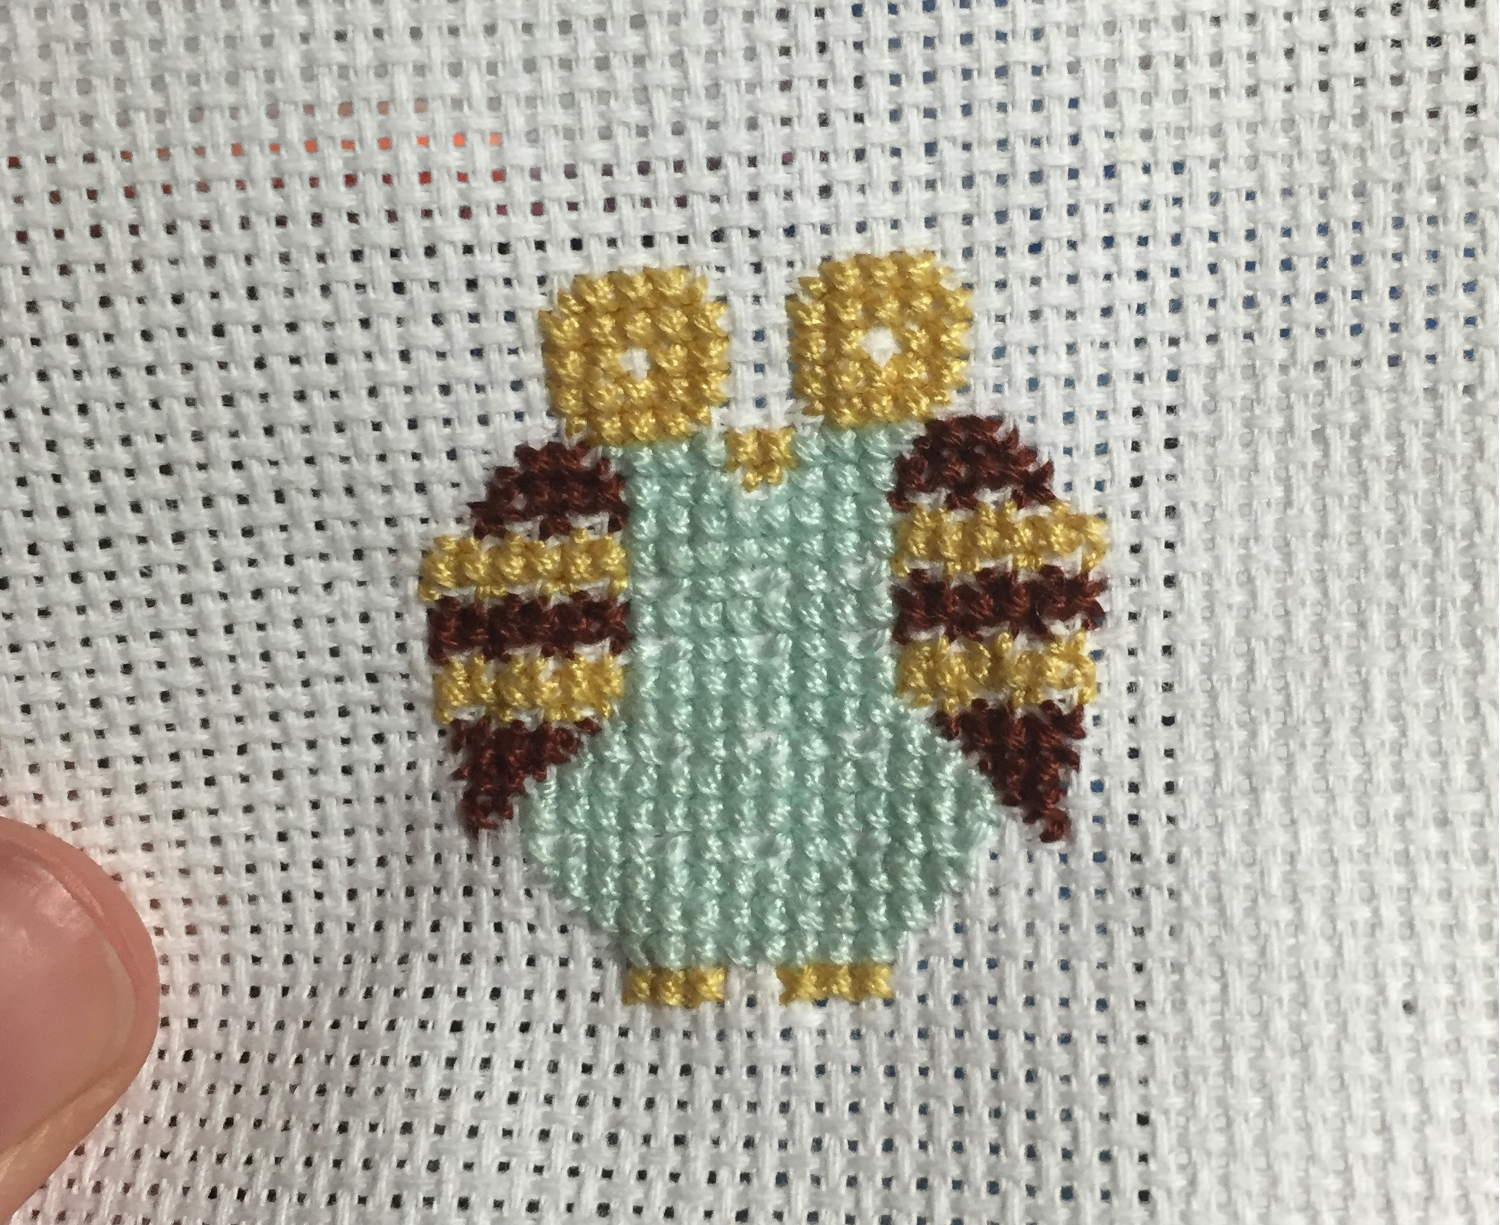
Now with wings!
Which again was more frustrating quarter stitches. The end result will look great but for a slow stitcher like myself, the extra time it takes to make those quarter stitches causes so much annoyance! I can get through twice as many regular cross stitches in the amount of time it takes me to do the quarter stitches on these wings.
Now I put in the head and the final details before the back stitch goes on:

Cross stitch done!
I liked that the kit topped the ears in a different shade of blue. Technically there are only 5 colors in the whole chart, and the dark blue is only used on the ears and for the back stitch. The dark blue breaks up the monotony of the light blue, yellow, and brown.
With all the back stitch put in, I bring you the final product:
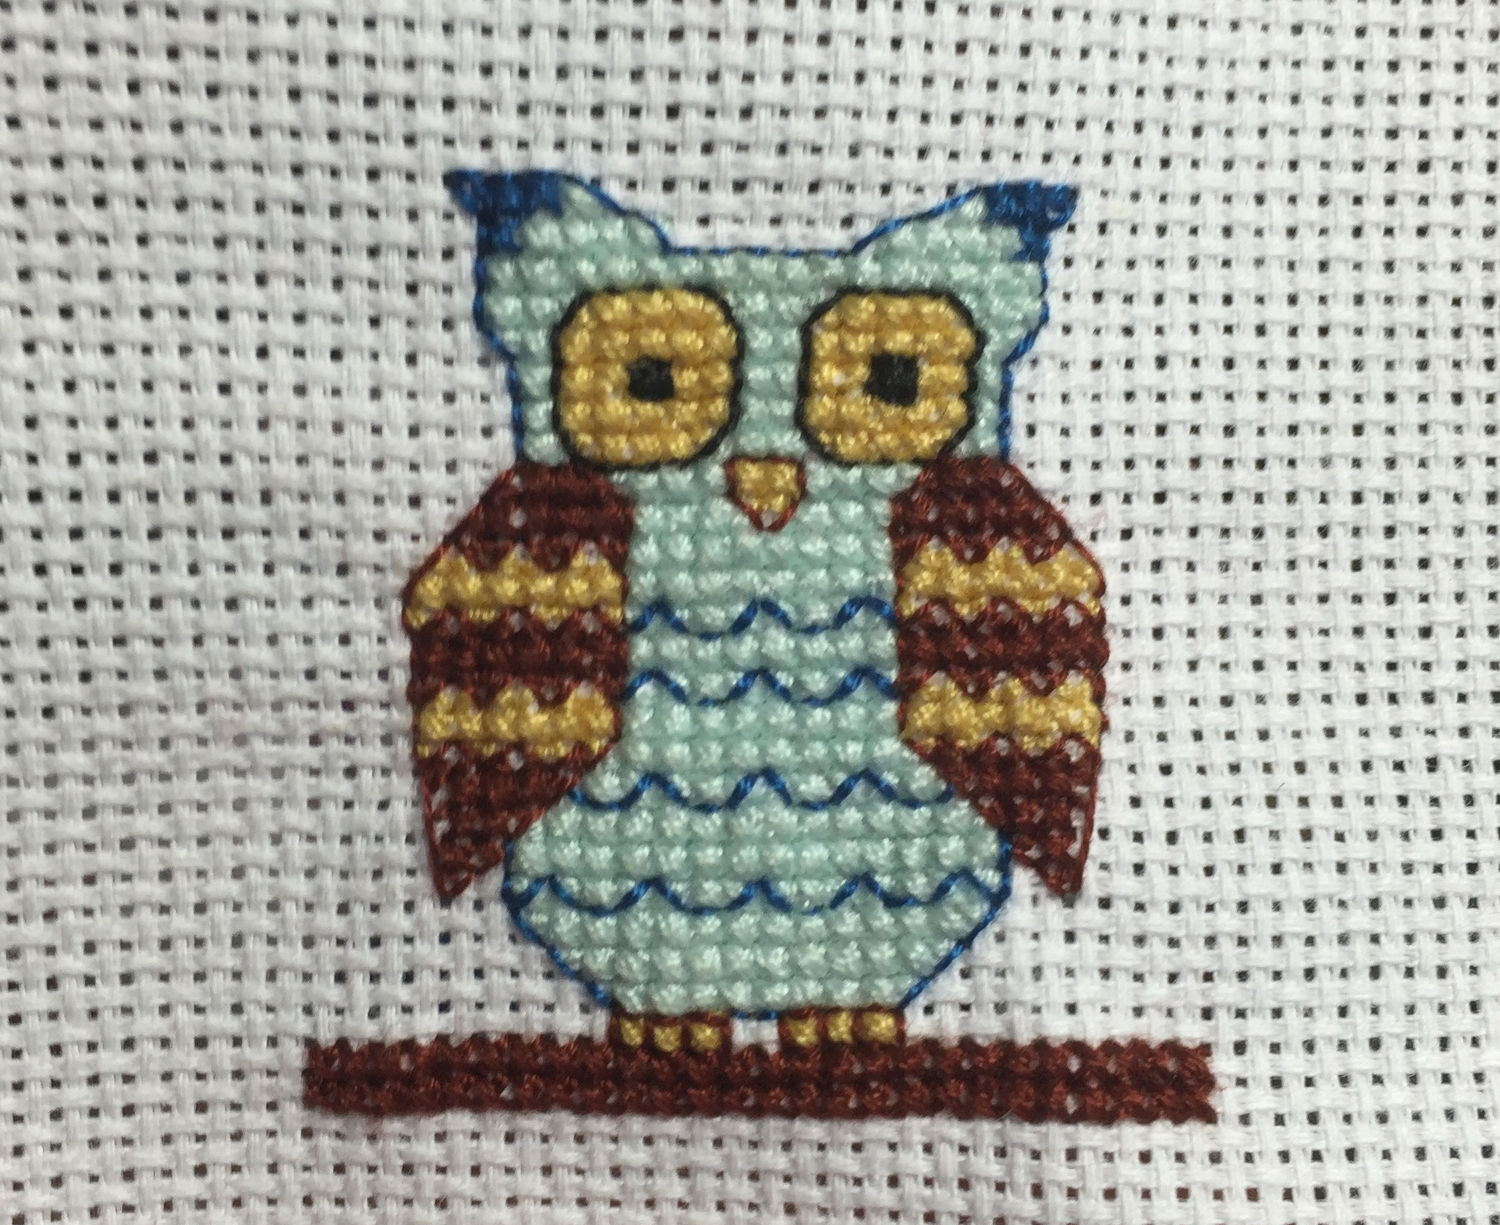
Good-looking finish!
Finally we have the owl looking like an owl! I will never get over how much life back stitch can bring to a piece. I love full crosses kits with no back stitch as much as the next person, and back stitching is not my favorite part of any kit, but no one can deny that back stitch really does make a piece look great.
My only major complaint: once I washed the piece in order to iron and frame it, the brown color bled! In all these years of stitching I’ve somehow managed to avoid color bleed, but in this case I washed it in cold water like normal, laid it flat to dry, ironed it like normal, and when I went to frame it the brown color of the ‘log’ the owl sits on bled all over the bottom of the fabric! I was devastated!
Luckily with the way the color bled it looks like I just went an extra step and dyed that part of the fabric. Not to mention, my sister didn’t care. But still, it really upset me! You guys will see it once the Friday Finishes article is up.
Have you done this piece before? How well did it go for you? If you washed this piece, did the color bleed for you or did I just get unlucky?
————————————————————————————–
Progress Report is an update on all my stitching habits: from kits, to stitching, to the finishing process, and more! Right now the blog features a random collection of all my WIPs and UFOs.
By the way – to keep up on Little Thread Crafts stitching news and get pictures, updates, and more that don’t appear on the blog until much later, follow me on Facebook, Twitter, and Instagram! I would greatly appreciate it!