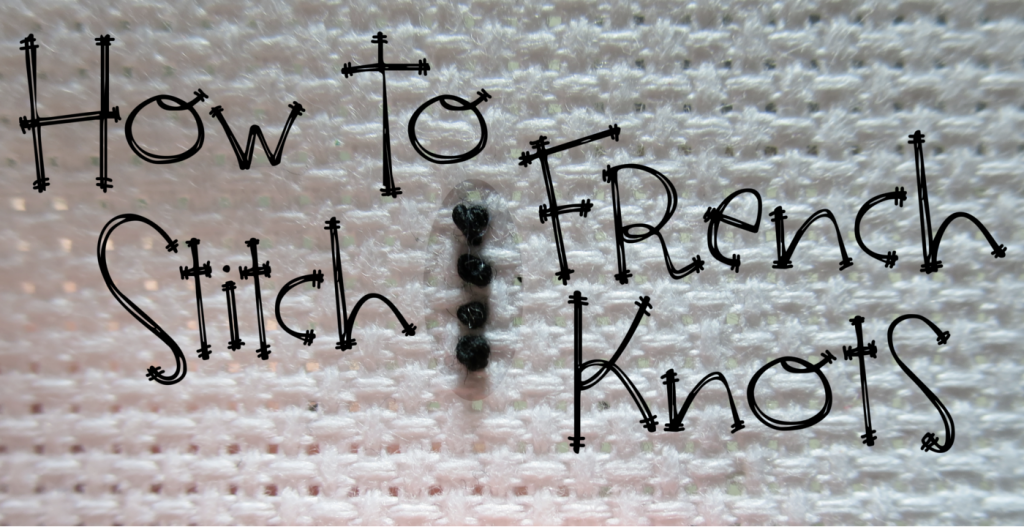
Hello everyone, and welcome to Tutorial Tuesday!
French Knots are notorious among the cross-stitch community. For some reason, people just can’t seem to get them right! Some have abandoned them completely for other knots or seed beads, while others, like me, have never had an issue with them. It seems like you can do them, or you can’t. Today, I’m going to show you how I do them in four easy steps!
Full disclosure: this is how I do French Knots. This may not be the proper way or the right way, and it may not work for you. This is just what works best for me! Your success may vary.
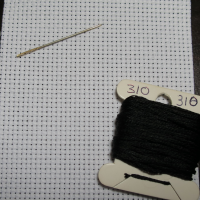
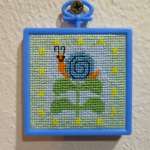
My supplies for this tutorial!
Materials Used For This Demonstration:
- 1 strand of DMC 310 Black cotton thread
Before We Start:
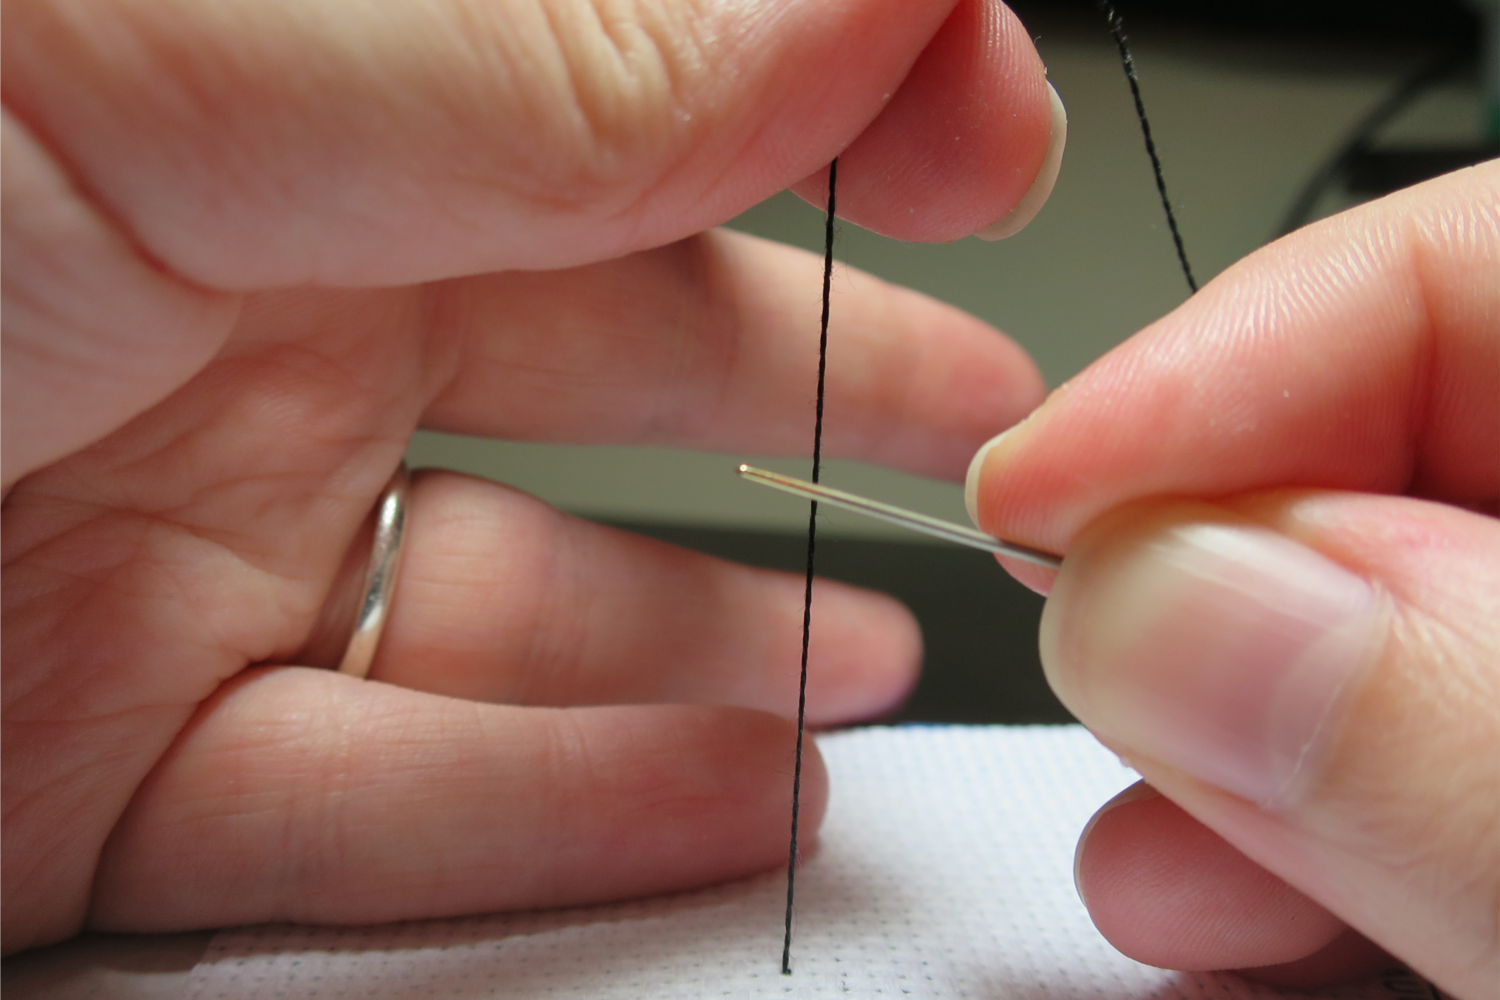
Your first step with making a french knot should be to thread your needle and start your thread however you would normally start it. If you’re struggling I recommend starting with a waste knot, which is what I’m going to start with today. (I double-knotted it in the picture to make sure I wouldn’t pull it through the hole.)
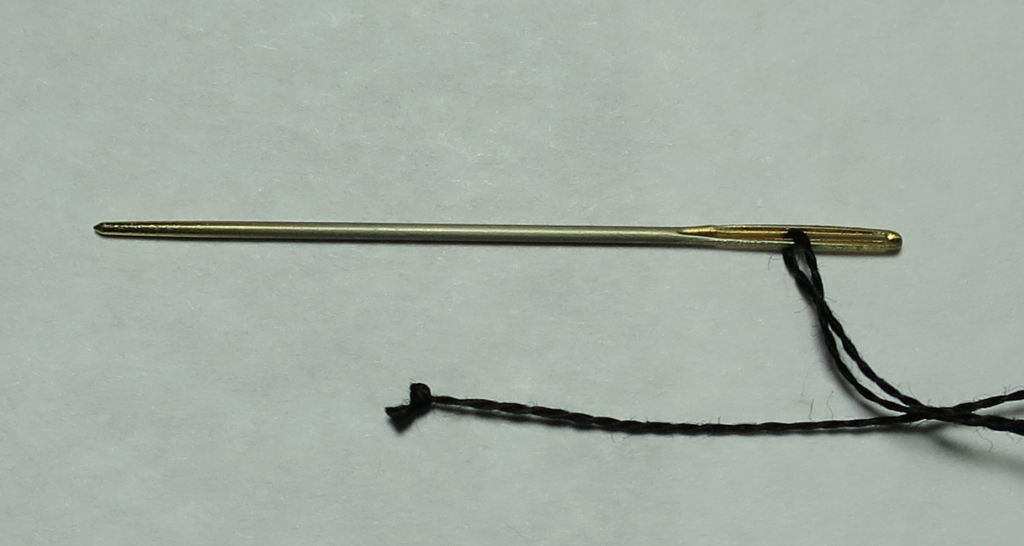
The needle is threaded and ready to go.
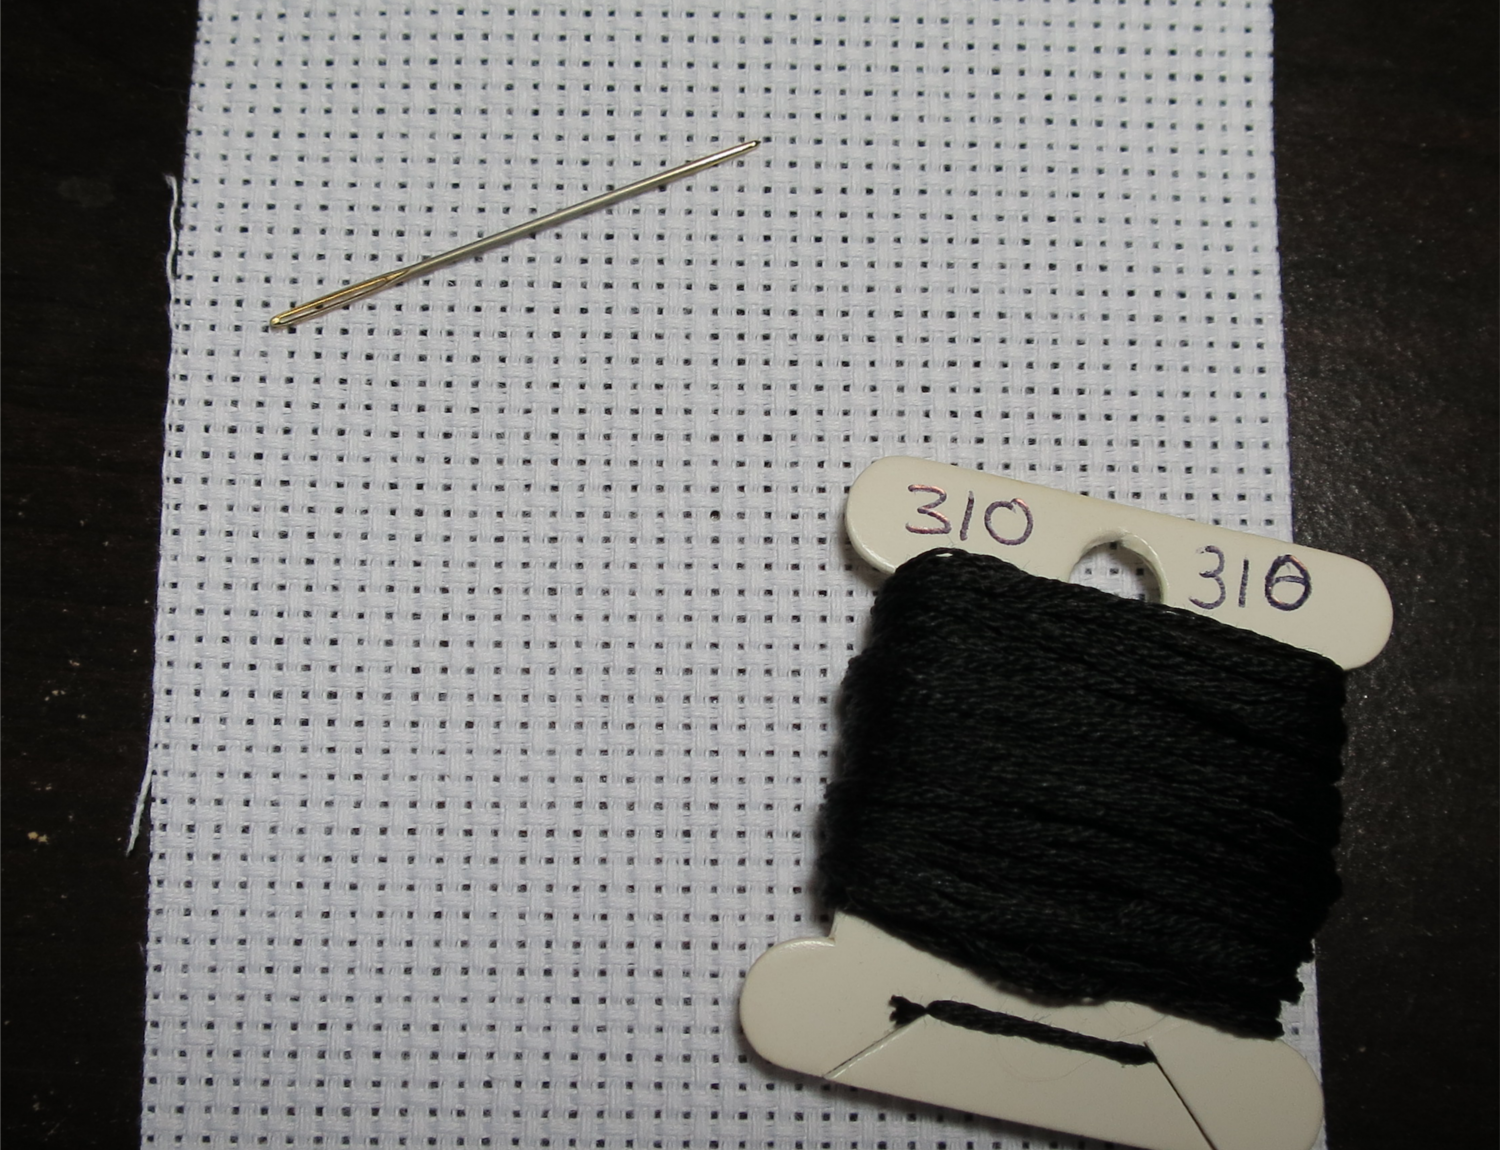
Now that you’ve got your needle and thread ready to go, we can look to the fabric. Let’s say you need to put a french knot on the edge of this square right here:

Our starting point.
I’m showing you this spot because this is one of the most difficult places to make a French Knot. Corners are hard because you’re meant to come up and then go back down through the same hole. This is also difficult because there are no other stitches around it; usually the French Knots go on top of the cross-stitch, so they’re easier to anchor. If you can master this spot, you can put French Knots anywhere!
Step One:
Step One is easy: come up with your needle and thread through the designated hole.

Step One: Come up through the fabric.
Step Two:
Now, Step Two will require both hands. Take your needle in one hand, and with your other hand pull the thread coming up out of the fabric taunt:

Step Two: First pull your thread taunt with one hand.
Now, take your needle and wrap the thread around your it twice. You can wrap it once, you can wrap it five times; the number of wraps determines how thick your knot is. I like to wrap it twice.
Step Two Cont: Then wrap your needle twice with the thread.
This bit is optional, but what I do is wrap the thread as close to the end of the needle as I can without it slipping off the end, and I pull the loops as tightly as I can against the needle. This is so I don’t have to worry about the loops coming loose when I’m pulling the needle through the fabric, and so the knot is a little neater when finished.
Step Three:
(I don’t have very clear pictures of this step; they were very hard to take! I had to set a timer on the camera and everything.)
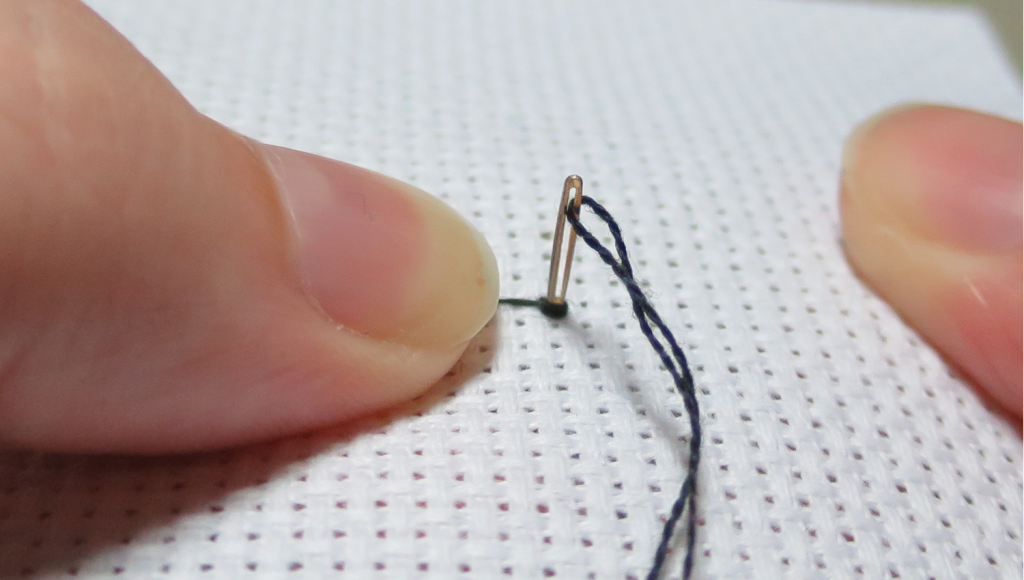
You’re already halfway there to making a French Knot. Now, put your needle to the fabric as if you were going to go back through the hole, but don’t. Instead, take your needle and move up (or down) one thread on the Aida fabric and poke your needle through that strand. Do NOT go through the original hole! Like this:

Step Three: Poke hole in fabric with needle like shown.
(I actually went two threads down instead of one in the picture. It will show a little bit of black thread when you’re finished if you do this. It’s fine to do if there are crosses around it as you would never see the extra black thread.)
Poking a new hole between the threads will require a little bit of fiddling on Aida fabric, but just keep separating and pushing with your needle until you get it. Once you have it, push in with your needle far enough that you can grab it from the other side, but not all the way.
Step Four:
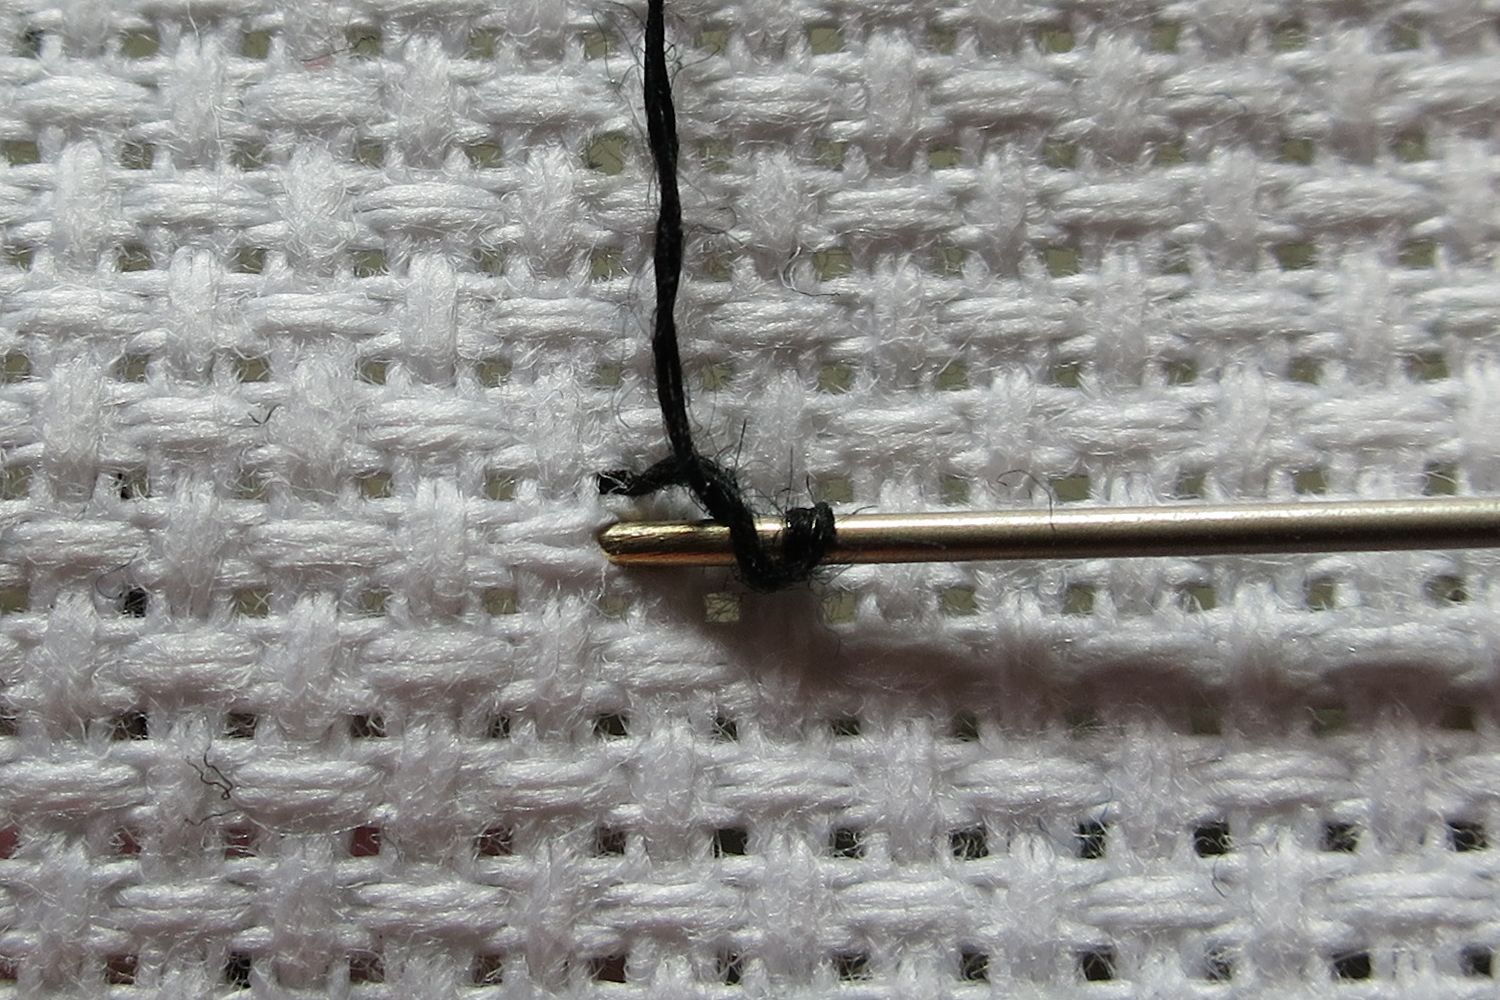
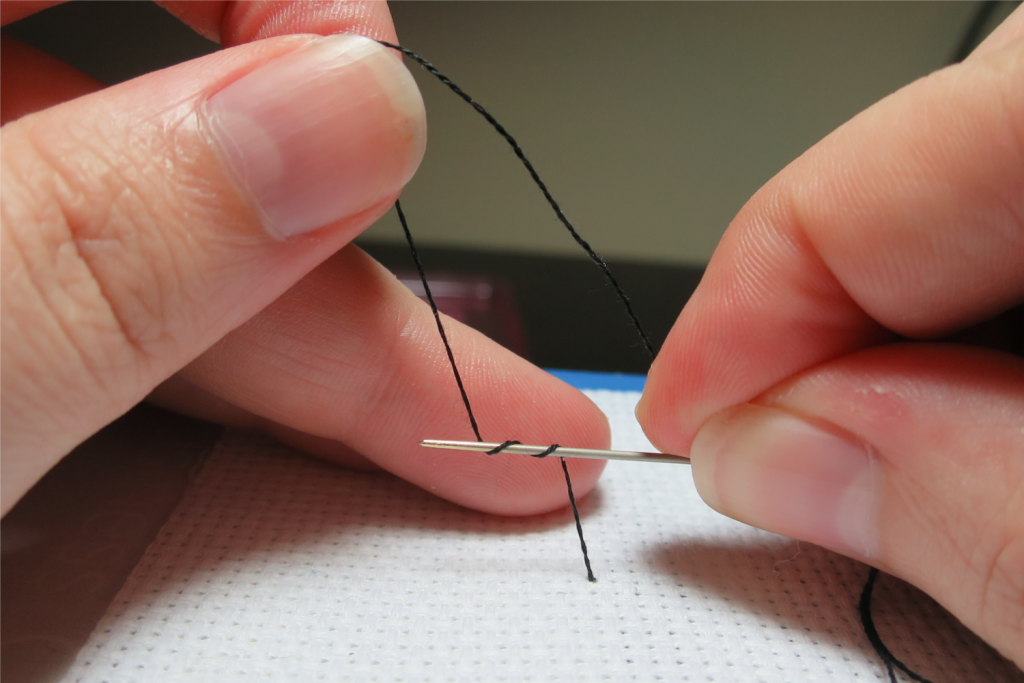
If you’ve followed all the instructions so far, your needle and thread should look something like this:
What your needle and thread should look like by now.
Now… pull your needle through! You can do as I do in the picture and hold the thread with your thumb as you’re pulling so the knot comes out a little neater. But pull until you can’t hold the thread anymore and then pull more some more until the loops are secure against the fabric. But don’t pull too hard! If you pull it too taunt it may actually pull the knot through the fabric and you’ll have to start all over. French Knots are supposed to sit loosely against the fabric like this.
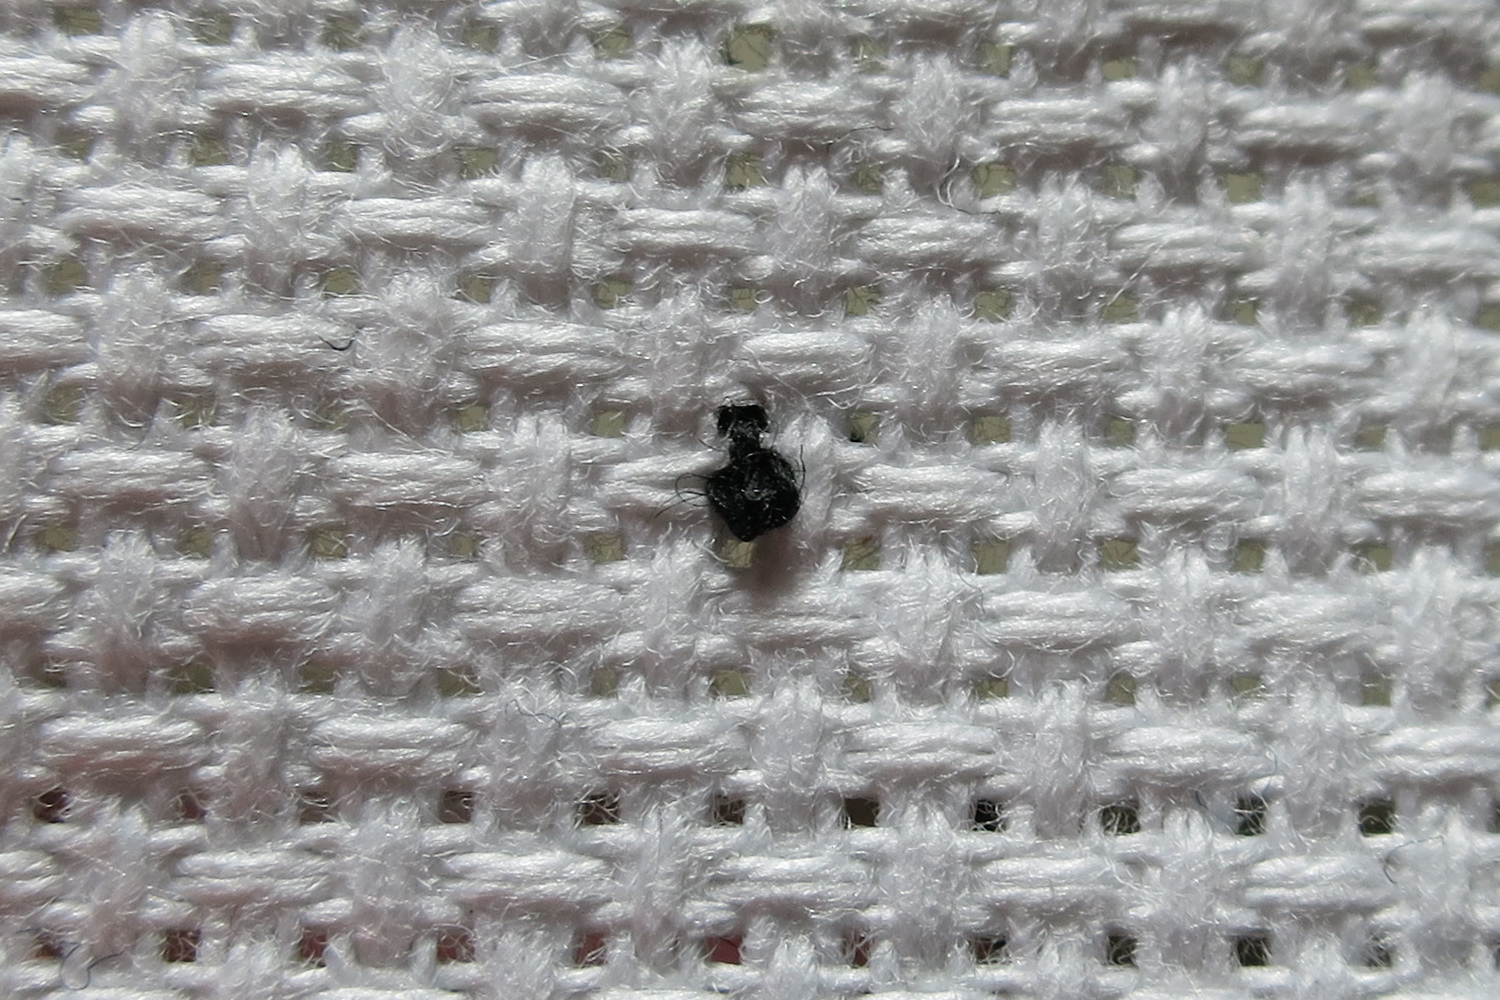
And voila! You have a French Knot!
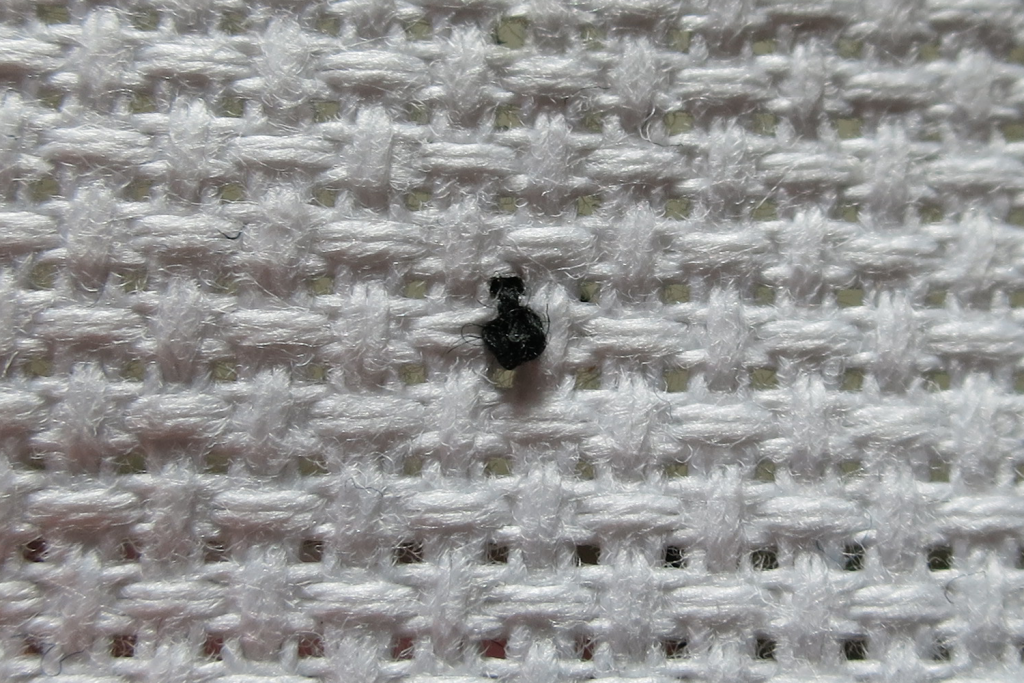
Ta-Da! A French Knot!
Now that your French Knot is done, you can go and make many French Knots all across the fabric!
Tell me your story: how successful are you with French Knots? Are they easy, are they hard? Do you like them? Do you hate them? Leave a comment and let me know! And let me know whether this tutorial helped you at all! 🙂