Friday Finishes #19: Seashells
Today’s Finish
Ahh, today’s Friday Finishes is a piece I was really excited to do, but I had a major complication while stitching it! Lessons were learned while stitching this piece!
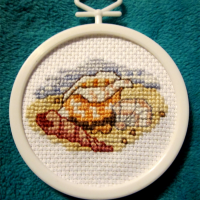
Name of Piece: Item #021-1389 Seashell
Designed by: And we’re back to no designer listed.
Distributed as a kit by Janlynn Company under their Designs for the Needle series.
Kit Contains: 18 ct. aida fabric, embroidery floss, needle, self-adhesive mounting board, frame, chart, and instructions.
Finished Size: 2.5 inches round.
The Story: Again, this is one of those kits I picked up when I saw it. These small kits are relatively cheap, and who knows whether it’ll be there the next time I head to the store? So, after finishing the last Mini Kit series, I decided to start another set with a bunch of the minis I’d bought recently. This was the first one of that new set. I really liked the seashell design and it looked fun to stitch – I like kits that have a bunch of detail in such a small area. I had it stored in a plastic sandwich bag and would carry it around to stitch on when I wasn’t at home and needed something to do.
Time To Complete: Oh gosh… I don’t know, maybe a week of stitching on and off?
Review: So the reason it took me so long to finish stitching this was because of a little incident I had while stitching… as I said above, I carried this kit around in a small plastic sandwich bag and stitched on it when I wasn’t at home. This isn’t unusual, as I do this with a lot of my small kits. They’re small enough to carry around and I can start and stop pretty easily, which makes them great for on-the-go stitching. What was unusual was my way of marking the chart. I usually highlight the bits I’ve stitched with an orange highlighter, but for whatever reason the highlighter wasn’t available while I was stitching the project. So, I decided I would lightly shade the areas I’d finished with pencil. Fine, right? No.
One day, I pulled out the project to stitch on it and what did I find? When I put it in the bag I must have put it chart-side towards the front of the stitching, and when it was in my bag, the chart and the fabric must have rubbed together. All of the pencil shading on the chart had rubbed off onto the fabric and made the stitching all dirty! Now, I usually wash my projects when I’m finished with them, so if the fabric had gotten dirty it wouldn’t have been a big deal. Except it was on the front of the fabric and all over the stitching! It even got on some of the thread I hadn’t used to stitch yet. I had to stop and wash everything before I could continue. 🙁 Never use pencil to mark your charts, or if you do, don’t let it anywhere near your fabric!
I got the project all washed and finished stitching it, but I was pretty discouraged by the end and didn’t have as much fun finishing it because of that set-back. I was afraid the graphite wouldn’t come out, especially on the lighter stitches, but it turned out well enough.
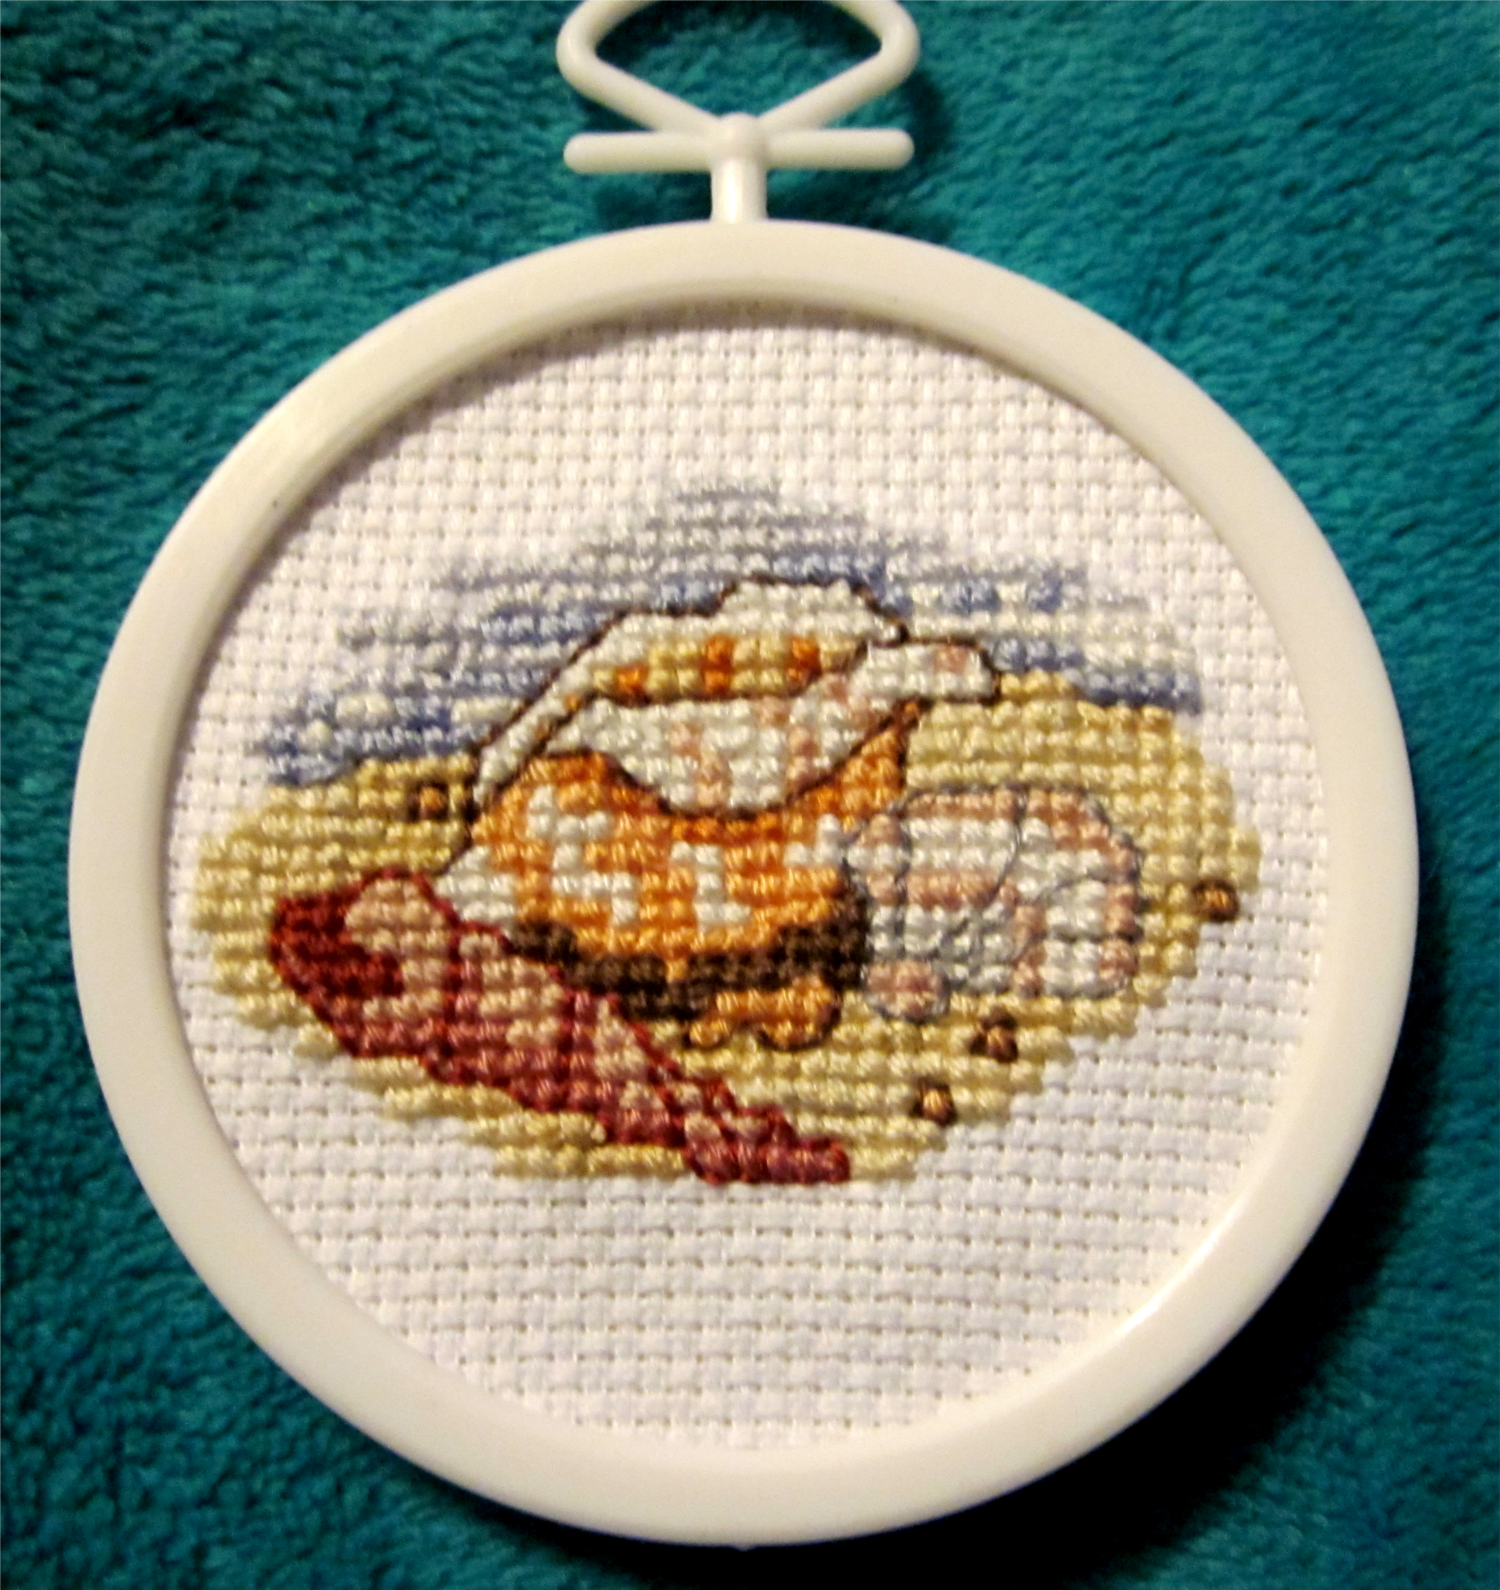
The finished piece, nice and clean.
Final Verdict: Definitely don’t highlight your charts in pencil when you’re storing it with your project! Lesson learned. I didn’t even like shading in the parts I stitched because I couldn’t see it as well as with the highlighter. I’ve been too spooked to try it since! Have you ever had that happen before?
Have you done this kit before? How did it go for you? How did you like it, or not like it, as the case may be? Leave a comment below or head on over to our Facebook page and tell us how it went!
————————————————————————————-
Friday Finishes is a segment where I catalog and review all the cross-stitch pieces I have ever completed. Some of the pieces I no longer have information on, or I don’t have pictures because I gave away the piece as a gift and forgot to take a picture, but I’ll do my best to be as informative as possible! Check back on Fridays for more.
Hi there . I too have tried to use a pencil to mark my charts . I found I couldnt run it out after as it left a smudged mark on the chart .
I was just wondering I have one similar to this that is like to stitch but I don’t no what is the best way to frame it as I’d like to put it in my bathroom for my beach theme ?? Any ideas ??
Hmm… well people say if you put stitching in the bathroom you have to put it under glass so the steam from the shower won’t eventually get the piece all moldy. But I don’t think you have to do that, if you don’t want to. If you were careful about keeping an eye on it you could probably even frame it in a hoop if you wanted. 🙂 if your piece is as small as mine, they do sell those finishing frames in individual packages so you could frame it that way.
Ok thank you for the advise I will look into this